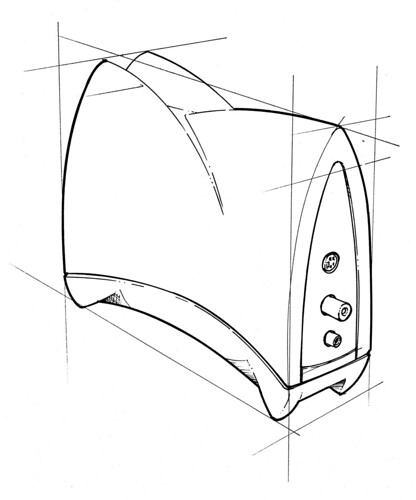
1) Know how you draw?
Do you draw lines by moving your wrist, elbow or shoulder?
There is really no right or wrong way to draw, though most
purist advice to use draw from the shoulder. The reason for
this is really about the type of sketch you want to create.
Wrist action encourages “tight” sketches and very good for a
controlled sketch style. Drawing from the shoulder gives you a
more sketchy and loose lines as you are literally firing off the
lines. If you want the create that Emotion sketch this is the
technique to use, but frankly this style requires a lot of
practice in controlling your lines. Drawing from the elbow gives
you the middle ground. At the end of the day pick the
technique that you are most comfortable with.
2) Practice.
When I started my design career, I drew everything every day.
I refused to use tracing paper, rulers or erasers. If you want to
improve your sketching skills you need to invest time
and effort. Practice drawing buttons, perspective cubes, and
horizontal or vertical lines. I have pages full of horizontal
vertical and diagonal lines.
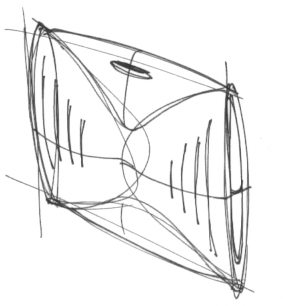
3) Understand the concept of varying line weights.
One of the good tricks of sketching is to use different line
weights or thicknesses. Basically you use thicker lines for
edges further from the eye, and thin or dotted lines for edges
closer to you.
Varying line thicknesses give your drawing movement, and
bold outlines in particular makes the sketch jump out of the
page.
4) Use intentionally sketchy lines by keeping your arm loose.
In other words lines don’t end at the junction, keep them
going and shoot them off. Creating loose sketchy looking lines
is really a technique that can be easily learnt.
Carefully creating boundary boxes in light lines, as well as over drawing shapes gives a cool sketchy feel.
5) Redraw your sketches and present them in a better
light.
I have seen many portfolios of designers with a few years of
experience still include sketches from their school days. Now if
you have been following my advice your sketching ability would
have improved, so re-draw those old and ugly sketches, there
is nothing and no-one saying you should not.
This time, perhaps, take the opportunity to refine it to the level that you are happy with?
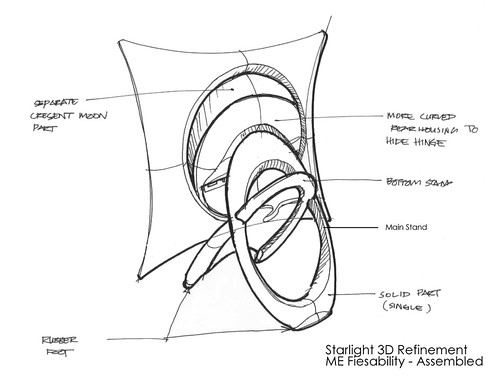
6) Use callouts with cool handwriting.
I don’t think I have to say much more about this, but the fact
that annotations at strategic places does makes a sketch look
cool. Oh and if your handwriting is not too good, I do suggest
you pick up a book on drafting and practice.
7) Use the photocopier to save redrawing a good part.
I only recommend this if your sketching ability is fairly good or
if you are rushed for time. Otherwise redraw it from scratch.
Photocopiers work great with Liquid Paper or Correction Fluid.
8) Draw big, but show it small.
Actually a great presentation trick is to scan in your images,
touch up the lines with Photoshop, and present them in a
collage. Such a presentation strategy makes average sketches
look good, and good sketches look GREAT!
9) Draw small, but show it big.
If you have still a tough time sketching from your elbow or
shoulder and if your line control is still not the best, what I
suggest is to draw a thumbnail and blow it up on a photocopier
or scanner. This way you would have an underlay to redraw your
sketch with the same look and feel but with thinner lines.
10) Use layouts created from 2D or 3D software.
Talking about the use of an underlay, use this time tested
trick to create your sketches with a correct perspective, or for
you to create a 2D orthographic sketch in proportion.
11) Draw with a pen.
From what I’ve been told, sketching with a pen, instead of a
pencil, is really about losing the ability to erase your lines, or
erasing your mistakes.
The idea here is that drawing with a pen forces you to think
before your draw, and as you cannot erase your work, and you
will then draw with a determined solution in mind. In other
words, drawing with a pen trains your mind to think the design
solution through before you actually put it on paper. It will
make you a much better designer.
The other reason is that, you stop being precious with your
sketches and drawings, i.e. you draw and if it does not look
good, you don’t get to erase and draw over, but you throw your
drawings away and start fresh. This re-setting and starting
from scratch seems to help make you a better designer, so the
say!
There you go, 11 great tips to get you out of the stable with a
flying start. However at the end of the day, all these 11 points
will all come to naught if you don’t practice Practice and
PRACTICE! So do hang in there as the pain will not last forever.